TIMELAPSE CALCULATOR
Timelapse Calculator
Results:
Vietnam e-visa program was launched as a pilot program for 40 countries in 2017 and gradually expanded to include 80 countries n 2020. The e-visa program received a big overhaul on August 15, 2023, when a new resolution (127/NQ-CP) granted a Vietnam e-visa for all nationalities. This move is aimed at boosting tourism in the post-pandemic period and positioning Vietnam as a more accessible and appealing destination for global traveler.
The benefits of evisa Vietnam are the following:
Some key facts about Vietnam eVisa:
| eVisa Type | Validity | Visa Fee |
|---|---|---|
| Tourist (T) | maximum of 90 days | $25 (single-entry) $50 (multiply-entry) |
| Business (E) | Business trips up to 30 days | $42 ($35 + $7 processing fees) |
As of January 2024, citizens of 25 countries have a Vietnam visa exemptions (so called Vietnam free visa) and remain in the country for 14 to 45 days (depending on nationality).
In addition some countries got their length of stay extended: in August 203, it was announced that citizens from Germany, France, Italy, Spain, UK, Russia, Japan, the Republic of Korea, Denmark, Sweden, Norway, Finland and Belarus could stay in Vietnam for 45 days instead of 15 days
Like for a regular visa, to enter Vietnam with a visa exemption, eligible travelers must ensure their passport is valid for at least 6 months following their date of arrival in Vietnam and has at least 2 blank pages.
Securing a Vietnam eVisa is a hassle-free way to streamline your travel preparations. You should start by visiting the official Vietnam eVisa website. Here, you’ll need to fill out the online application form with your personal details and travel information. Your passport can be ordinary, official or diplomatic.
To apply for a Business Visa online, as you are completing the online application , simply select “labor/employment” as the purpose of entry on the dropdown menu.
Below is a 5-step-by-step guide to assist you in the Vietnam evisa application process:
To ensure a stress-free travel experience, it is recommended to apply for your Cambodia eVisa at least 2 weeks before travelling to Cambodia This is will be ample time for processing and addressing any unforeseen issues.
The standard size for a Vietnam e-visa application photo is 4x6cm (2×2 inches) saved as a .jpg, .jpeg, or .gif file under 2MB; the photo should be a recent, color, clear portrait with a plain white background and even lighting that clearly shows the face and upper shoulders.
Vietnam e-visa photos cannot contain filters, textures, or patterns and must be an unmodified, high-quality image in the accepted file formats and dimensions.
You will need to go to https://evisa.xuatnhapcanh.gov.vn/en_US/tra-cuu-ho-so. Enter your registration code number, email address and date of birth to check the status of your application.
tip:some people have experienced problem with this website. If you have issues with access, you can try using different browsers (firefox,chrome,edge). If you have issues with payment you can try another credit card or a debit card. It is also a good idea to check your inbox spam folder from time to time.
Vietnam currently has 42 entry points that accept e-visas, including 13 air border gates such as Noi Bai Airport in Hanoi and Tan Son Nhat Airport in Ho Chi Minh City, 16 land border gates such as Tay Trang and Mong Cai, and 13 sea border gates such as Hon Gai Port and Chan May Port.
| Border Gates | Land Border Gates | Sea Border Gates |
|---|---|---|
| Noi Bai Airport (Hanoi) | Tay Trang International Border Gate (Dien Bien province) | Hon Gai Port Border Gate (Quang Ninh province) |
| Tan Son Nhat Airport (Ho Chi Minh City) | Mong Cai International Border Gate (Quang Ninh province) | Cam Pha Port Border Gate (Quang Ninh province) |
| Cam Ranh Airport (Khanh Hoa province) | Huu Nghi International Border Gate (Lang Son province) | Hai Phong Port Border Gate (Hai Phong city) |
| Da Nang Airport (Da Nang city) | Lao Cai International Border Gate (Lao Cai province) | Nghi Son Port Border Gate (Thanh Hoa province) |
| Cat Bi Airport (Hai Phong city) | Na Meo International Border Gate (Thanh Hoa province) | Vung Ang Port Border Gate (Ha Tinh province) |
| Can Tho Airport (Can Tho city) | Nam Can International Border Gate (Nghe An province) | Chan May Port Border Gate (Thua Thien-Hue province) |
| Phu Quoc Airport (Kien Giang province) | Cau Treo International Border Gate (Ha Tinh province) | Da Nang Port Border Gate (Da Nang city) |
| Phu Bai Airport (Thua Thien-Hue) | Cha Lo International Border Gate (Quang Binh province) | Nha Trang Port Border Gate (Khanh Hoa province) |
| Van Don Airport (Quang Ninh province) | La Lay International Border Gate (Quang Tri province) | Quy Nhon Port Border Gate (Binh Dinh province) |
| Tho Xuan Airport (Thanh Hoa province) | Lao Bao International Border Gate (Quang Tri province) | Dung Quat Port Border Gate (Quang Ngai province) |
| Dong Hoi Airport (Quang Binh province) | Bo Y International Border Gate (Kon Tum province) | Vung Tau Port Border Gate (Ba Ria – Vung Tau province) |
| Phu Cat Airport (Binh Dinh province) | Moc Bai International Border Gate (Tay Ninh province) | Ho Chi Minh City Port Border Gate (Ho Chi Minh City) |
| Lien Khuong Airport (Lam Dong province) | Xa Mat International Border Gate (Tay Ninh province) | Duong Dong Port Border Gate (Kien Giang province) |
| Tinh Bien International Border Gate (An Giang province) | ||
| Vinh Xuong International Land and River Border Gate (An Giang province) | ||
| Ha Tien International Border Gate (Kien Giang province) |
Bali travel tips are essential for anyone visiting this popular tourist destination, known for its lush landscapes, stunning beaches, and vibrant culture. With its growing popularity, navigating through the crowds and traffic can sometimes be a challenge. That’s why we’ve put together a list of tips to make your Bali adventure as smooth and enjoyable as possible. By beating the traffic and leaving early, as well as learning some key Bahasa Indonesia phrases, you can get the most out of your trip. So, if you’re planning a visit to Bali, be sure to keep these Bali travel tips in mind to ensure a memorable and stress-free experience.
Leaving early morning will allow you to avoid traffic but also to beat the crowd at the most visited place. The biggest cities, such as Denpasar, Ubud, and Kuta, are known for their traffic jams, with Ubud having the worst congestion in its city center during peak hours due to its small roads. Avoid the hassle by rising early to beat the crowds and enjoy the beautiful temples, rice terraces, and waterfalls Bali has to offer.
Buying a tourist sim card if you cannot use international roaming from your sim card or if you want to save some money. The best is to buy the sim card as soon you arrived at the airport and they installed it for you in few minutes. It is after very easy to top up if you need in many local phone shops along the road. To choose your package, you can calculated a comsuption of 2GB a day if you want to be sure you will not run out of data.
We used XL Axiata as provider and the connection was quite good in Bali.
Money changers available all around.
The exchange rate ca change a bt 2% from one street to another.
Credit cards putchase are chatged a fee of 3%
Book one or 2 nights at a local hotel
Although Balinese is the preferred language of the locals throughout the island, everybody will understand your Bahasa Indonesia. Having a few essential phrases in your repertoire will be a great advantage, especially if you want to take pictures (check out our Bali photography tips blog).
| Bahasa Indonesia | English |
|---|---|
| Halo apa khabar? | Hello, how are you? |
| Saya orang Perancis. Aku tinggal di Perancis | I am from France, j’habite en France |
| Selamat pagi | Good morning. |
| Selamat siang | Good afternoon. |
| Selamat sore | Good evening. |
| Terima kasih banyak | Thank you very much. |
Some infornal words
Bagus:
The term “bagus” can be sujective and influenced by context, as it is commonly used to express positive sentiments towards something that is deemed good or nice. It has become an important component of Indonesian language and culture and is frequently used to convey appreciation and admiration in everyday conversations.
Film ini bagus (this movie is good)
Baju kamu bagus (Your shirt is nice)
Boleh: In Indonesian, “boleh” is used to express permission or to give someone the go-ahead to do something.
Boleh aku meminjam sepeda kamu? (Can I borrow your bike?)
The one-word response “boleh” indicates permission or agreement to the request or question being asked for example: Boleh saya masuk ke dalam rumah ini? (May I enter this house?)
Some.local prices (updated march 2023)
While there are plenty of articles out there highlighting the best photo spots and Instagram-worthy locations in Bali, this blog takes a different approach. Our focus (no pun intended) is on providing Bali photography tips you can use, regardless of whether you’re using a DSLR, mirrorless camera, or even a smartphone.
1.Use google maps satellite view and discover Bali’s
Whether you’re exploring Ubud or other parts of Bali, Google Maps‘ satellite view can be a valuable tool for locating rice terraces and checking out nearby trekking trails while on the go.
2. Plan Around the Full Moon: capture the Magic of Balinese Ceremonies
Although offerings are taking place daily in the many temples scattered inside Ubud, there are bigger ceremonies that occur on the day of the full moon (or sometimes the day before) in temples. To check out the moon phase, you can use a dedicated app such as TRP, Photopills, or check timeanddate.
3. Do not get stuck in one location
Renting a motorbike is one of the most affordable ways to get around Bali, but it does require some driving experience. Alternatively, you can book a motorbike through Grab. Unfortunately, as of 2023, there are limited options for renting e-bikes in Ubud without joining a tour. For those who are physically fit, renting a mountain bike can provide access to less-traveled locations.
If you’re willing to spend more, you can rent a car with a driver for the day and customize your itinerary to include your preferred stops.
If you have more time or have visited Bali before, consider taking a short flight to a nearby island like Sumba for a culture shock.
4. Enhance Your Sunrise and Sunset Photography with Graduated ND Filters
When capturing high-contrast scenes, such as sunrises or sunsets, graduated neutral density filters are a must-have. These filters can also enhance your daytime shots of seascapes. A ND8 filter, for instance, can reduce light by 3 f-stops, allowing you to capture both lush green rice fields and a sky at sunset in a single shot.
5. Capture Dreamy Daylight Seascapes and Waterfalls with Long Exposures
If you are looking to capture dreamy-like seascapes or waterfall shots, you’ll need to use a long exposure time of 20-25 seconds. However, this can only be achieved on bright or cloudy days by using a powerful ND filter like the ND1000, which blocks 99% of light. To prevent camera shake, it’s essential to turn off any stabilization features and use a stable tripod. While a mini tripod may be more convenient for travel, it may restrict your composition options if you’re limited to shooting from ground level.
Long exposure modes can be found on Android smartphones. For instance, RedMi phones offer a “oil painting” long exposure mode that can be used. Note that you will need to use a tripod as well with your smarphone.
6. Lace up Your Hiking Shoes and Explore Bali’s Natural Beauty
To capture area shots in Bali, hiking some of its trails is one of the best ways, especially if you don’t have access to a drone. These trails offer great vantage points to capture the natural beauty of Bali, including seascapes and rice terraces, in a vintage style. Additionally, Bali is home to two famous trails that lead to Mount Batur (Gunung Batur), which stands at 1717 meters, and Mount Agung (Gunung Agung), which tops at 3,031 meters. From these spots you will be able to capture breathtaking shots of the sea of clouds at sunrise.
7. Don’t miss a shot: rent a lens in Bali
Renting a lens in Bali is a great way to take your photography to the next level. Few photo shops on the island offer this service, though it’s worth noting that foreigners may be asked to leave their passports as a deposit. If you prefer and cannot leave your passport, cash is an option for rental deposits, but be prepared to put down the full value of the lens. It’s also worth noting that using a credit card for deposit is usually not an option due to the high fees involved.
One lens rental shop we recommend is Pondok Lensa Bali, located in Kuta. They offer a wide range of lenses (Sony, Fuji, Canon) and professional equipment.
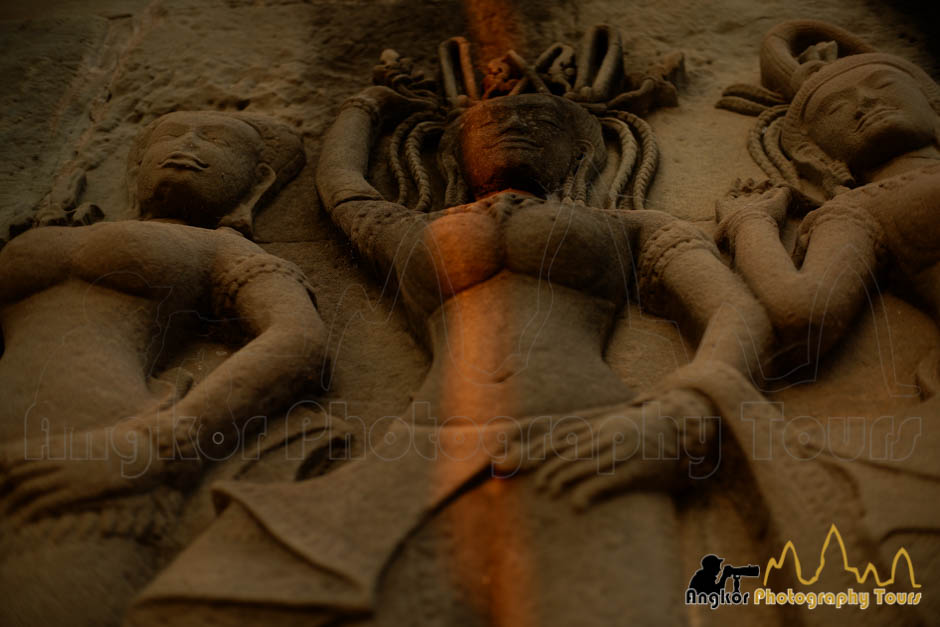
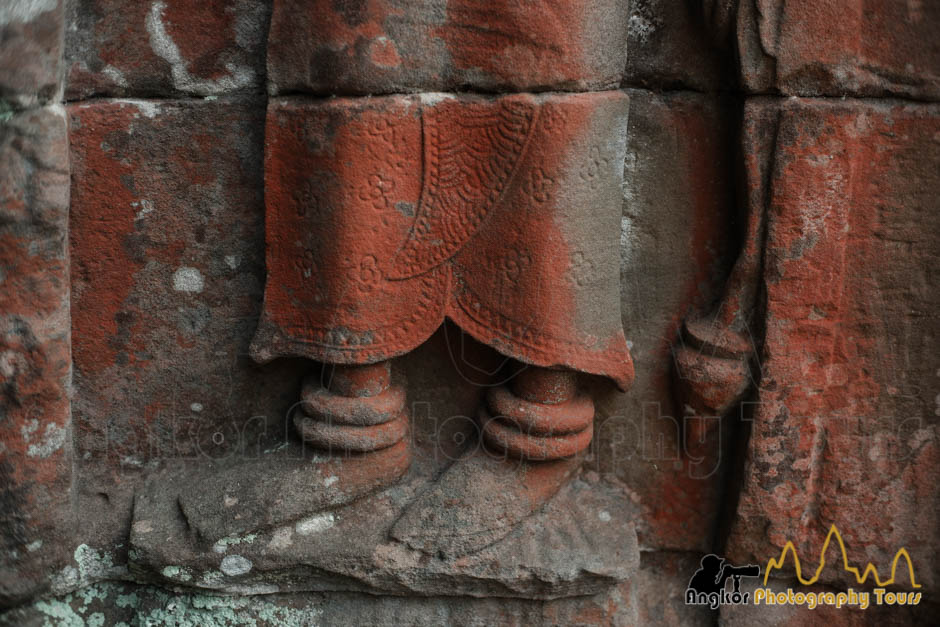
8.Look Up and Explore the Details: discover Bali’s Secrets:
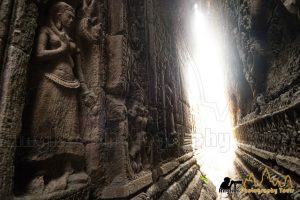
Bali is a treasure trove of hidden details. One such example is the stunning array of gardian statues (bedogol) you’ll find throughout villages,, gracing the fronts of homes and temples alike.
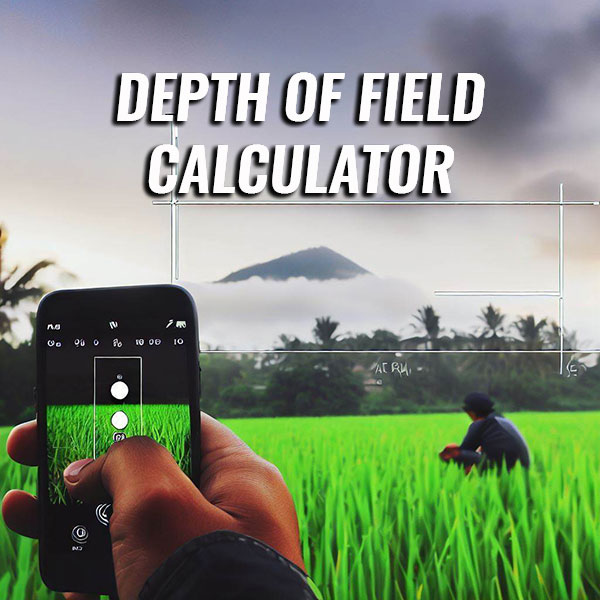
If you are an enthousiatic photographer, you have probably heard of a “DOF calculator” also called a “depth of field calculator“. This tool is essential for photographers who want to control the depth of field in their images and create stunning, professional-looking shots. Understanding the concept of depth of field is crucial for any photographer, as it can greatly impact the final outcome of your images. In this blog, we’ll explore what depth of field is and how it can be controlled, as well as introduce you to the powerful DOF calculator tool available through Photopills. We’ll walk you through how to use the Photopills DOF calculator and also introduce you to the hyperfocal distance calculator. By the end of this blog, you’ll have a better understanding of how to control depth of field and how to use the DOF calculator to take your photography skills to the next level.
Depth of field is one key element of creativity in photography and cinematography. It is defined as the area of an image which has an acceptable sharpness.
Photographers are referring to a narrow depth of field (shallow depth of field) when the sharpness around the focus is very limited or a deep or large depth of field when the image is in focus from the foreground to infinity. Landscape photographers are using wide angle lenses with a large aperture to maximize the depth of field
Photographers specialized in macro photography are struggling to obtain a large depth of field
In general depth of field is depending on several parameters:
Focusing distance: All parameters set equal, the closer you get to the subject to focus the smaller depth of field you will get.
Aperture: the smaller the aperture the narrower the DOF will be.
Type of lens: wide angle lenses will give more depth of field compared to a telephoto lens or a macro lens.
Camera type and sensor: with all other parameters being equal, APC sensors give a larger depth of field than full frame sensors, Also, when comparing two full frame cameras, such as the Nikon D850 and the Canon 5DMk4, the calculator will give you a slightly different depth of field which means that the type of camera has a small influence as well on the DOF.
Landscape photographers are often using the best and largest aperture of their lens which can be f:16 or f:22.
On the opposite, with the same wide angle lens once the sun is set, and you want to capture the stars of even the milky way you do not need depth of field and the lens is used wide open i.e at f:2.8 or less if possible. Another way of maximising your depth of field is use to use the hyperfocal distance.
In some occasions you might want to check your depth of field before taking pictures especially when using a new lens. In this case, photopills DOF calculator can comes handy.
If you are shooting an event with a 50 mm at f:1.8 on a full frame Canon camera such as the 5DMK4 your depth of field will be very limited at 13 cm shooting a person standing at 2 meters, the calculator gives you a zone of acceptable sharpness of only 6 cm in front of the focus point and 7 cm on the back.
With the same settings, if the main subject stands only at 1 meter, the DOF is only 4 centimeters!
Portraits shot at 1 meter will have a very shallow depth of field but focusing on the eyes can be challenging at times.
The first field to fill out is your camera model. If your camera is not listed, please choose the closest camera if the same brand with the same sensor size.
You enter then enter the focal length as written on your lens, the aperture you will used as well as an estimate of the main subject distance.
As results you will get the hyperfocal distance along with the hyperfocal near limit (see the next paragraph).
Hyperfocal distance can be very useful in landscape and street photography to control your depth of field. For landscape photographers, it is useful in order to capture as much of the scene in sharp focus as possible (background and foreground).
For example if you shoot street photography scenes with Viltrox 13mm on a Fuji XT-100 at f:8, photopills hyperfocal distance calculator will give you a hyperfocal distance of 1.07 meter. If you set your focus manually at 1.07 meters, all your images will be reasonably sharp from 53 cm (hyperfocal near limit on the calculator) to infinity.
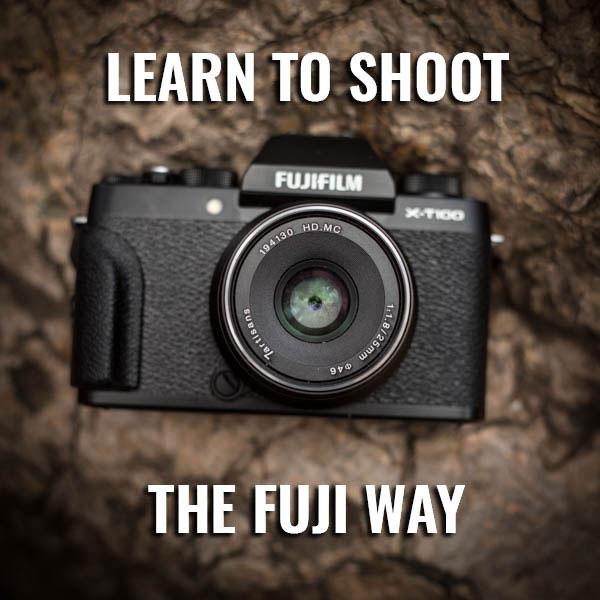
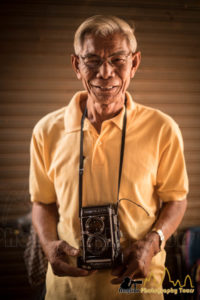
I recently acquired a FujiFilm XT-100 as a second camera. FUJIFILM’s X Series a is a line of cameras fun to use with a good quality of image but also quite different to use than a Canon or Nikon camera.
I can teach you how to can the best of the FujiFilm XT-100 (rental is free for those booking a full-day tour). It is a good opportunity also to try it if you are on a fence and thinking about buying one. Here are below some pictures shot with the 7artisans 25 mm f:2.8 on the XT-100. It is a good opportunity also to try it if you are on a fence and thinking about buying one. If you do not own one, you rent a Fujifilm X-T100 from us (rental is free for those booking a full-day tour).
Here are below some pictures shot with the 7artisans 25 mm f:1.8 (40 mm equivalent) 7artisans 12 mm f:2.8 (18 mm equivalent) on the XT-100.
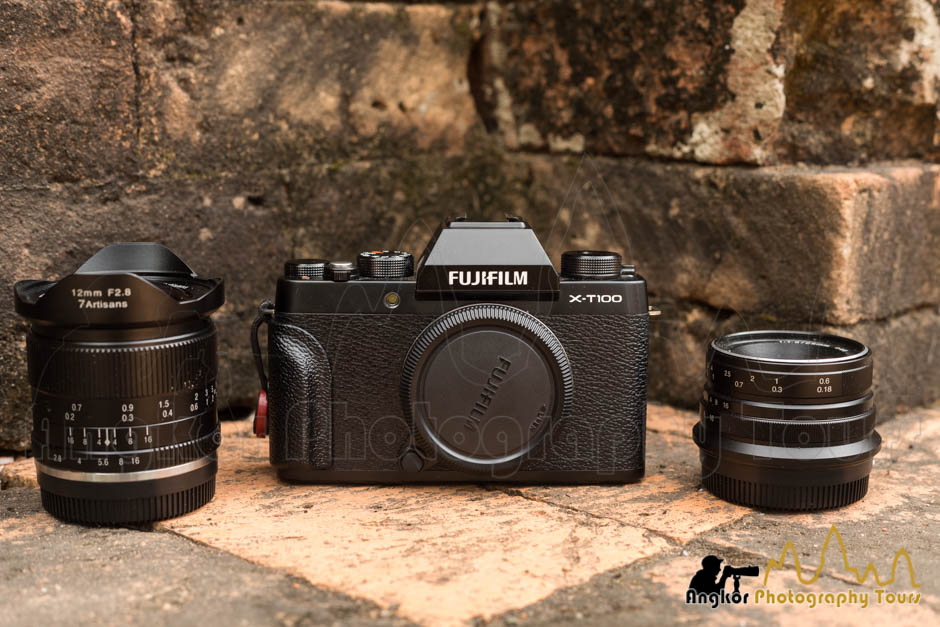
Fujifilm X-T100 and 7artisans 12 and 25 mm
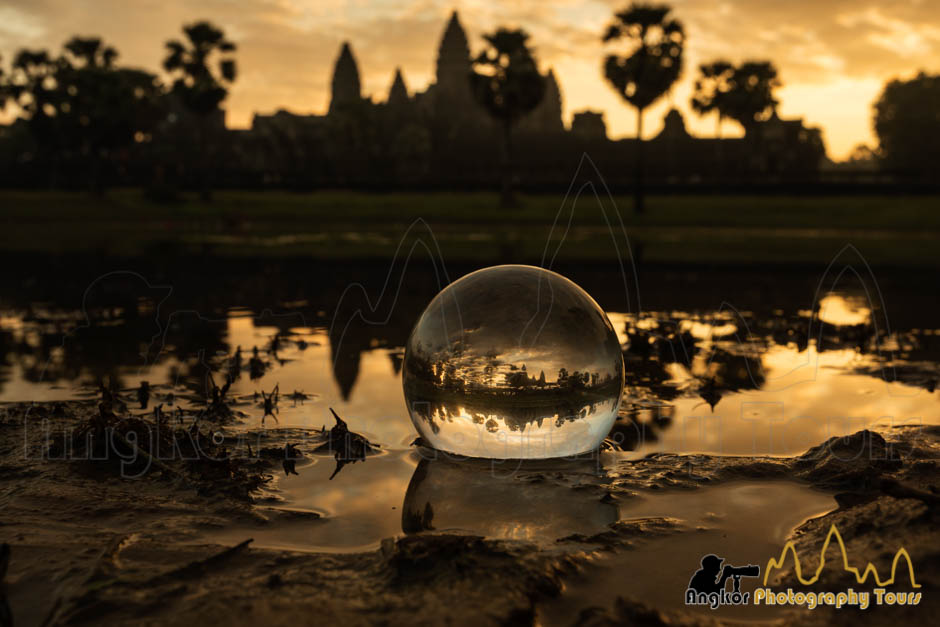
You have probably seen more these glass ball photos showing up on your social media feeds recently. Glass ball photography is not a new thing and belongs to a kind of photography called refraction photography.
Photographers can think about the glass ball as been a portable fish eye lens. A ball made of glass is a convex spherical lens which will bend the rays of light due to the difference of refractive index between the glass and the surrounding air. It is observed and can be calculated by the law of refraction that the focal point is outside the ball producing an inverted image.
Glass ball photography is also known as crystal ball photography (which is a quite misleading term as we will explain later). Used by street artists for contact juggling with them , they are recently marketed for photography and rebranded them as lensball.
Many glass balls on the market are not made of crystal (which contains lead) but of crystal K9 which is a Chinese Optical Borosilicate Crown. It is a crystal with low imperfections used to make or prism and lenses. K9 is lighter and cheaper than leaded glass.
Which Size a Lens ball is Best for Crystal Ball Photography ?
Glass balls of different diameters can be found on the market: 30 mm, 60 mm, 70 mm, 80 mm. A popular size for photography seems to be 80 mm which is a good compromise between image size and weight. Smaller balls like the 30 mm will easy to squeeze into small spaces compared to a 80 mm.
Where can I buy a lensball ?
You can avoid companies selling glass ball for photography purpose as they charge more and try to sell accessories like stands at a premium price. Like filters , it is recommended to buy a good quality glassball i.e one with no imperfections (bubbles) and with clarity. A 80 mm glass ball goes for USD 30 on Amazon these days, just be sure to read the reviews before.
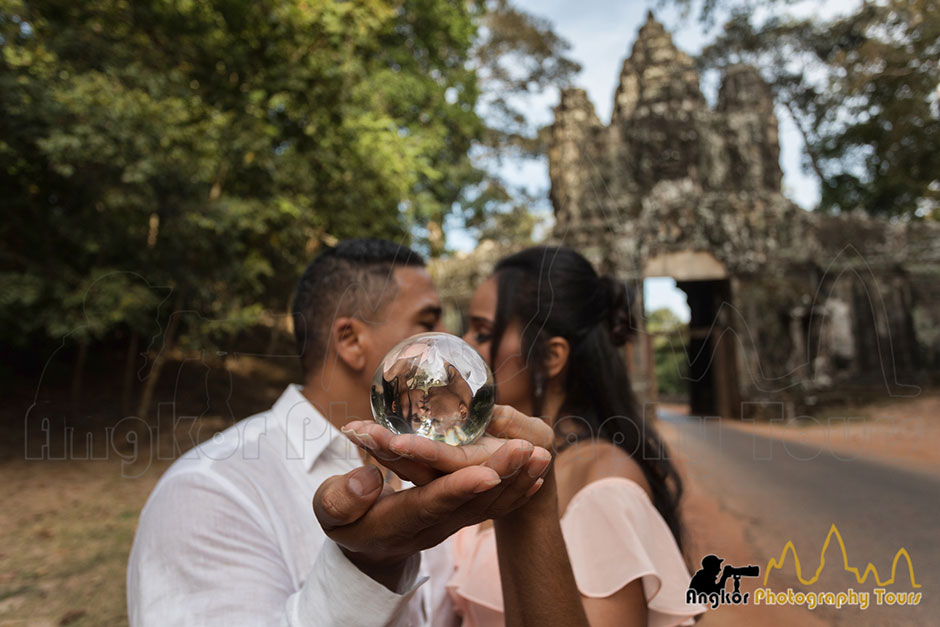
How to handle a lens ball ?
As soon you receive your glass ball, it is s recommended to put it in a soft pouch to avoid scratches. We also recommend to wipe it before each shot to avoid digital prints as they can be visible on your shots. Use the provided stand if the surface might scratch the glass. You can hold the glass ball in front of you and shoot with your free hand althought it requires soem practise. Even better, you can ask someone to hold it for you so you can concentrate more on the composition.

How to use a glass ball to make abstract pictures?
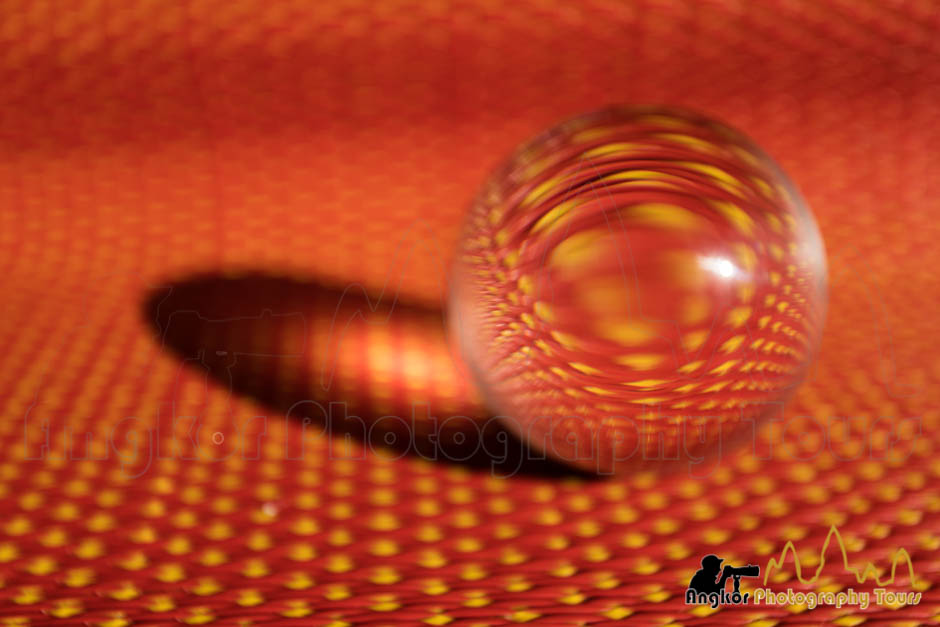
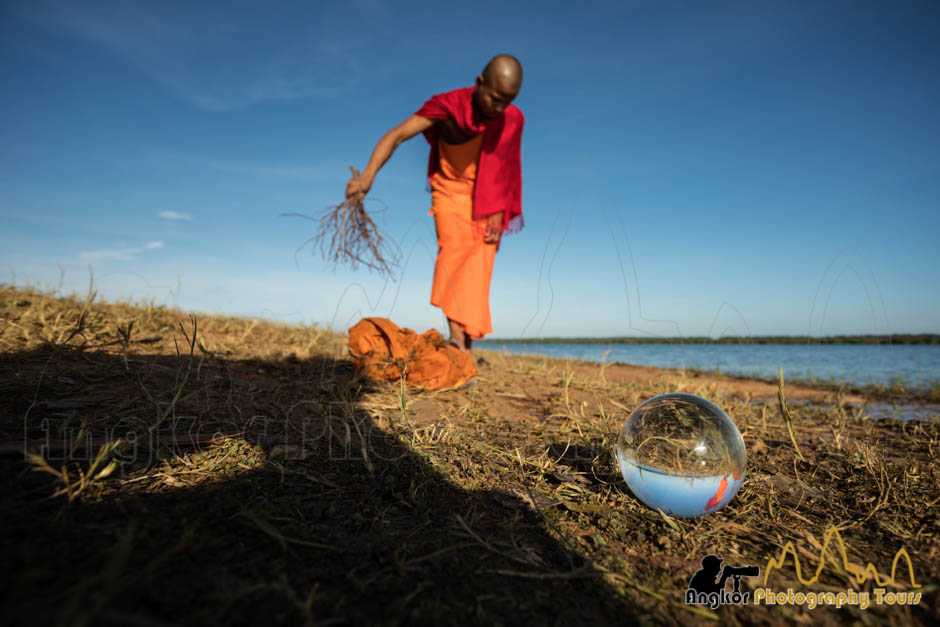
If you are shooting from above when the lens ball is on the ground, the latter acts like a magnifier. It is particularly interesting to look for abstract pattern like textile, wood or sand for example.
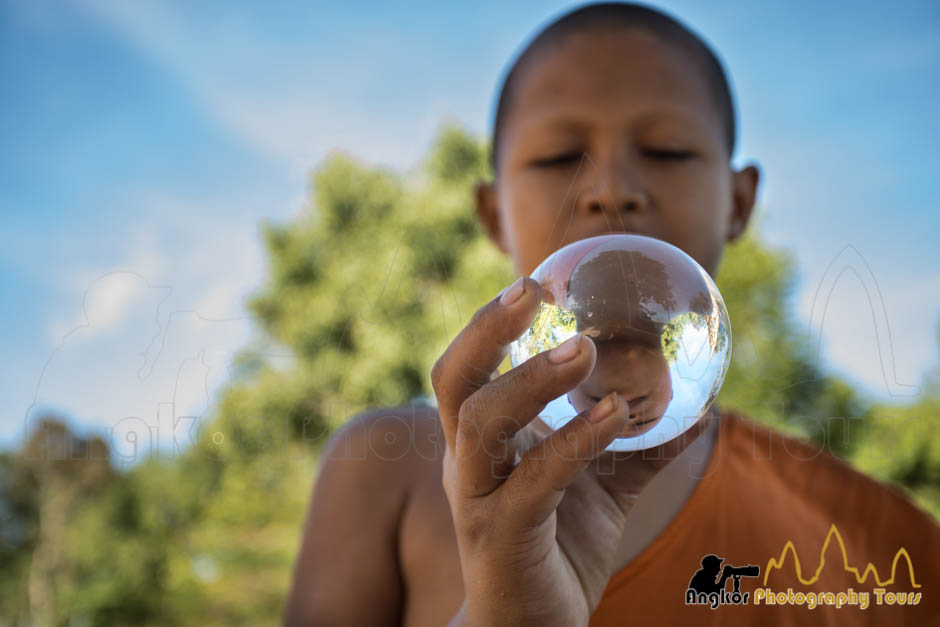
How to use a lens ball in portrait photography?
You first need to find a cooperative subject to hold the glass ball:) He or she will have to hold the glass at a distance where the image can be seen. After that you wil have to fid thecorrect level to shoot while looking inside the ball.
What camera lens is best for glass ball photography ?
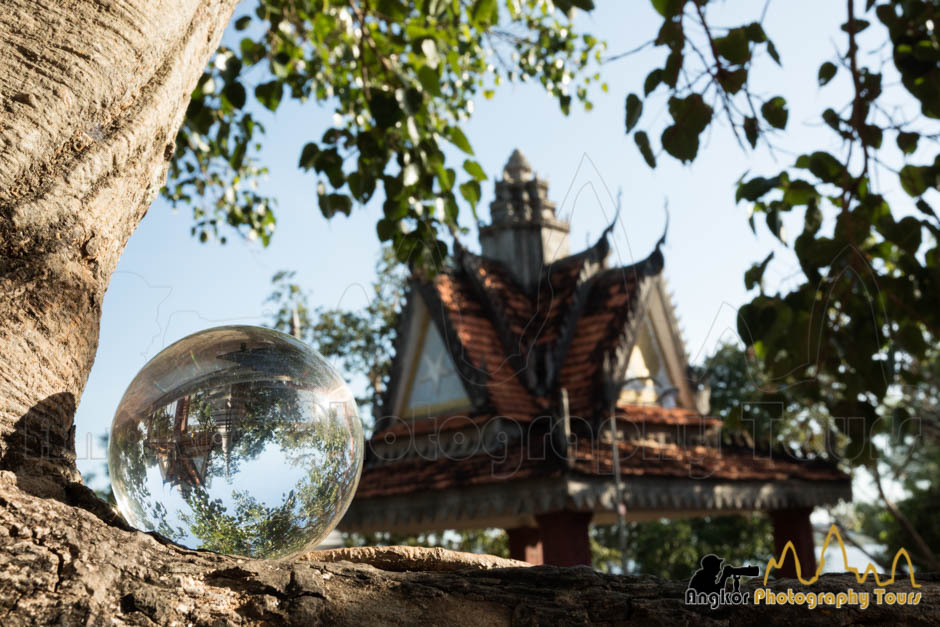
It really depend it you intend to show the environment around the glass ball in this case a wide angle lens from 17 to 24 mm (35 mm equivalent) is recommended.
Few years back, it is would be very difficult thing to do but thanks to the new technologies, there is a lot you can do prepare before leaving for your trip. Google Maps and google streets are an invaluable resources you can use. I would recommend to install the Google Maps app and not using the browser version. From the app you can switch between map, satellite and terrain views. Terrain view is actually very useful to have an idea of the topography as even 100 meters high hills are visible. What best tool to find new point of view. By combining these information with tools like TPE (The Photographer’s Ephemeris) you can have a have a very good guess on what to expect on location.
It is more challenging to find the best photography spots online however some photographer blogs can be useful. Few websites (with associated app) do exist like Shothotspot and Locationscount but they will give you a rough idea of the shooting locations at best.As far as Instagram concerned, you can do a research by tag and if you are lucky can find a picture with more geographical information.
Speaking few words of the local language can make a big difference in your pictures. Do also some research on the dos and dont before you fly to a new location. For language, some apps about language can be useful as well as google translate.
These days do not bother using the roaming service from your provider it will be very expensive. It is much cheaper to buy a local sim card once you arrive in your country of distance. Many propose now 4G package with several Gb of data. Your smarphone will be your tool to get on google map and of course share your favorite picture in real time.
Being genuinely interested by the activities of the people you try to photography certainly help. You might be able to take picture of the after a good talk or after sharing a cup of coffee or tea so you have to be patient as well.
That are several benefits about ditching your heavy zoom lens for travel photography. If you are using a 70-200 mm 2.8 which is a very good quality lens you will happy if you do not carry out all day. A big lens is also very visible and can intimidating make photography in markets challenging for example. You will loose the interaction with your subject which can make the picture more interesting.
Using a 20, 35 mm or 50 mm prime lens (on a full frame) if you are into portrait. Usually prime lens are faster (get more light) than a zoom lens so you will be able to get better low quality pictures in low light conditions (indoors for example). You will gain in portability as well.
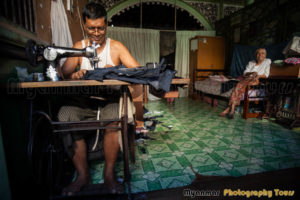
Get out of the beaten path will not only allow to get unique shots but also sometime to get better people photography shots. The element of surprise can in this case works for you.
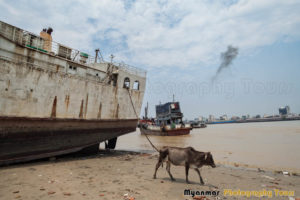
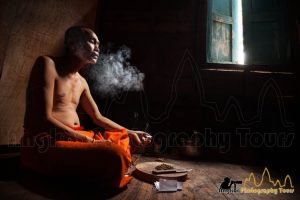
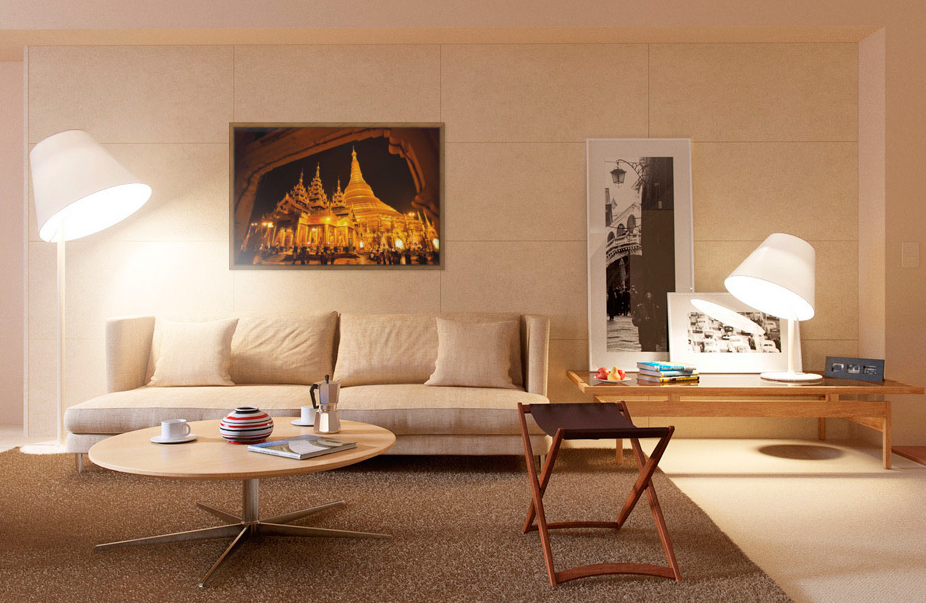
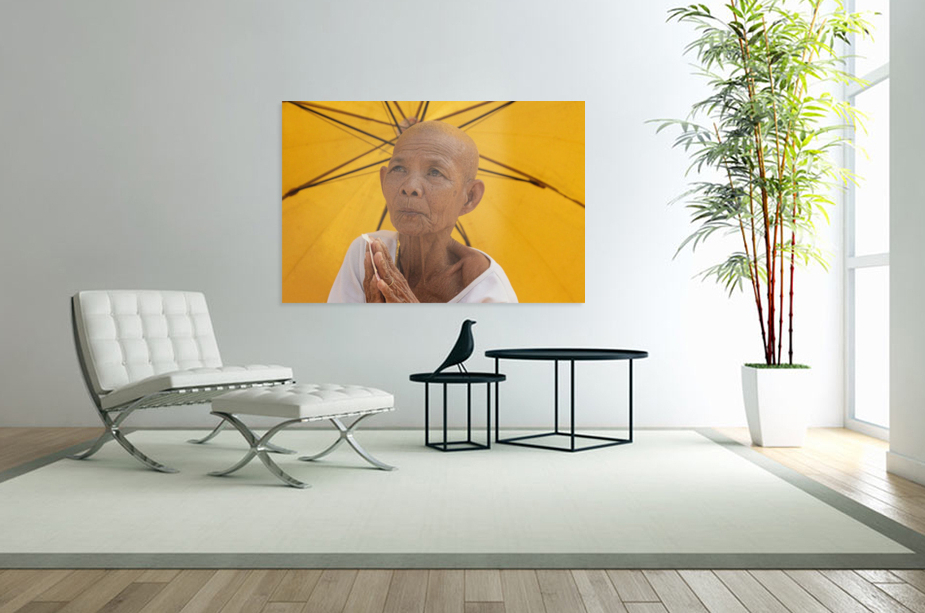
Who will guess this picture was taken in Yangon in Myanmar one the biggest city in the world?
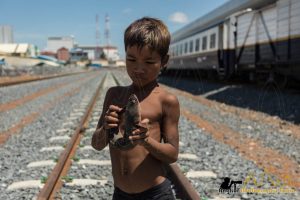
I certainly did not expect meeting a kid holding a live fish on the train tracks near Poipet in Cambodia
It is not only about the mm of the focal but also the cm on the ground. moving only few centimeters can change dramatically the outcome of a picture especially in a place with many people.

A good light is what will make sometime the difference a killer shot and a ok shot. For landscape photography, the best pictures are generally taken after sunrise or before sunset at the so called golden hour.
For indoor pictures hours are a bit more flexible but following the light as well is a good advice.
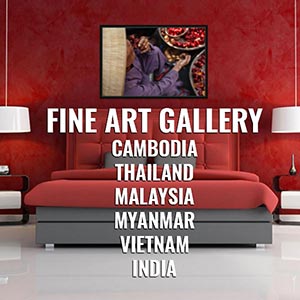
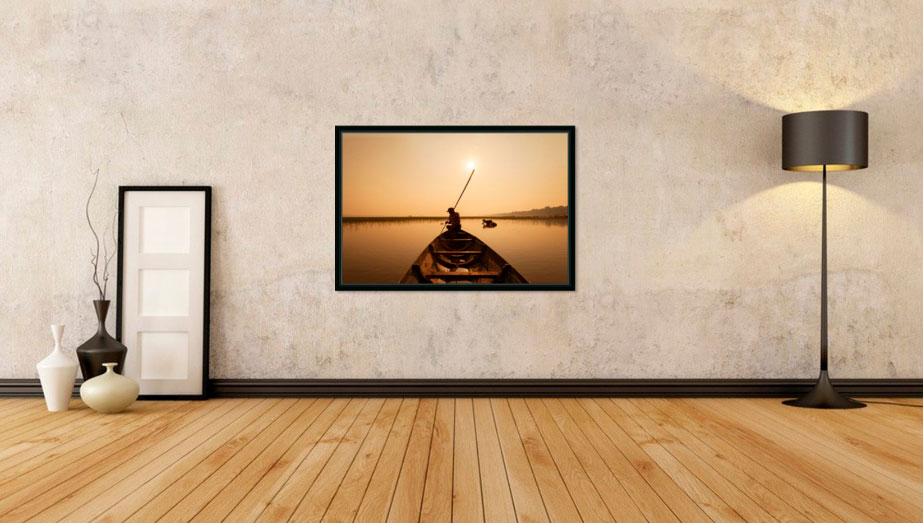
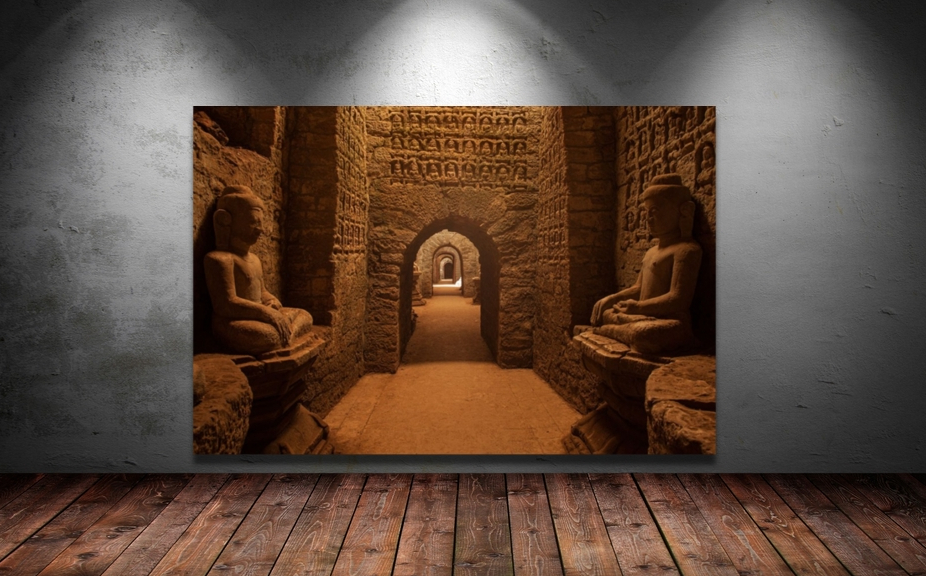
A selection of our best pictures from Cambodia, Myanmar, India and Vietnam are now available as Fine Art Prints via the e-commerce platform Fine Art America.
You can choose from a large selection of papers: matte, glossy, metallic and the pictures will be send to you in a tube roll. You can as well order wooden framed prints with a large selection of finishing.
Order now your Fine Art Print at Angkor Photography Tours Fine Art Gallery

Equinox, an astronomical event that marks a change in season, is the time in which the sun passes over the celestial equator causing the length of night and day to be roughly equal. In the northern hemisphere vernal equinox marks the beginning of spring while autumnal equinox marks the beginning of autumn. Vernal equinox is usually celebrated in March while autumnal equinox in September. In the southern hemisphere, it is the other way around.
Spring equinox is not just any ordinary season celebration. In most cultures, it is a religious observance embracing a symbolic sense of spirituality. It has been celebrated for thousands of years in many countries with different traditions with almost similar themes, the start of new beginnings. For Christians, spring equinox plays a vital role in determining the Christian Easter and the same goes for the Jewish celebration of the Passover. While a tradition from ancient Chinese calls for balancing of eggs to bring good fortune and abundance. For Iranians, spring equinox marks their New Year or Nowruz established from the Zoroastrianism beliefs. St. Patrick’s day in Ireland is also an observance related to the spring equinox.
In Pagan traditions, spring equinox is a celebration in honor of the gods and goddesses. Ancient Romans celebrate in honor of the mother goddess of Rome, Cybele, who with some divine intervention and help from Zeus, resurrected her lover, Attis after he castrated and killed himself. Germanic tribes celebrate Ostara, originally from the word Eostre, the Germanic goddess of spring; while Ancient Egypt celebrate the Festival of Isis, the goddess of spring and rebirth.
The native Mayan people in Central America celebrates spring equinox for ten centuries in the Mayan sacrificial ritual pyramid, El Castillo or the Kukulcan Pyramid, in Chichen Itza, Mexico. The pyramid has four staircases and at the base of the stairs stands the carved head of a snake deity, Kukulkan. The pyramid is designed with quite an impressive precision that during the equinox, as the sun sets, shadows and sunlight plays an illusion of a snake sliding down the staircase. They call this occurrence as “The Return of the Sun Serpent”. At present, El Castillo is also one of the famous venue for equinox observance.
Stonehenge, a celebrated tourist attraction in England is another well-known venue for the equinox. One function of the Stonehenge’s blueprint is to serve as an astronomical observatory to forecast and calculate celestial occurrences. During the equinox, Druids and Pagans gather early in the morning to witness the sun rising above the stones. This structure has become a very prominent venue for those seeking some kind of an extraordinary spiritual encounter during the equinox.
Another remarkable site to experience the equinox is the Grianan of Aileach, a group of ancient structures on top of a hill in Count Donegal, Ireland, with structures believed to have been built in the 6th or 7th century AD. During the equinox, the beam of the rising sun is dividing the inside of the stone ring-fort which is the main structure, into a northern and southern part.
Mnajdra, a temple complex in the the island of Malta, is considered as one of the most ancient religious sites on earth. The structure is believed to have been built during the 4th Millenium B.C. During the equinox, a ray of sun pass thru the temple and lights up its main axis.
Finally, being considered as one of the shrines of the ancient world, Angkor Wat near Siem Reap Cambodia is the most popular venue in Southeast Asia to celebrate the spring equinox. The structure, aside from its magnificent design is also drafted to forecast celestial phenomenons. Angkor Wat temple features a very distinctive and spectacular sunrise during the equinox; the sun rises exactly behind the pinnacle of the central tower, the most sacred point of the temple rising 65 meters above the ground.
For this upcoming Spring Equinox we are doing a special photography tour, please visit this page for more details. Here are few pictures below of sunrise at the equinox in Angkor Wat temple.
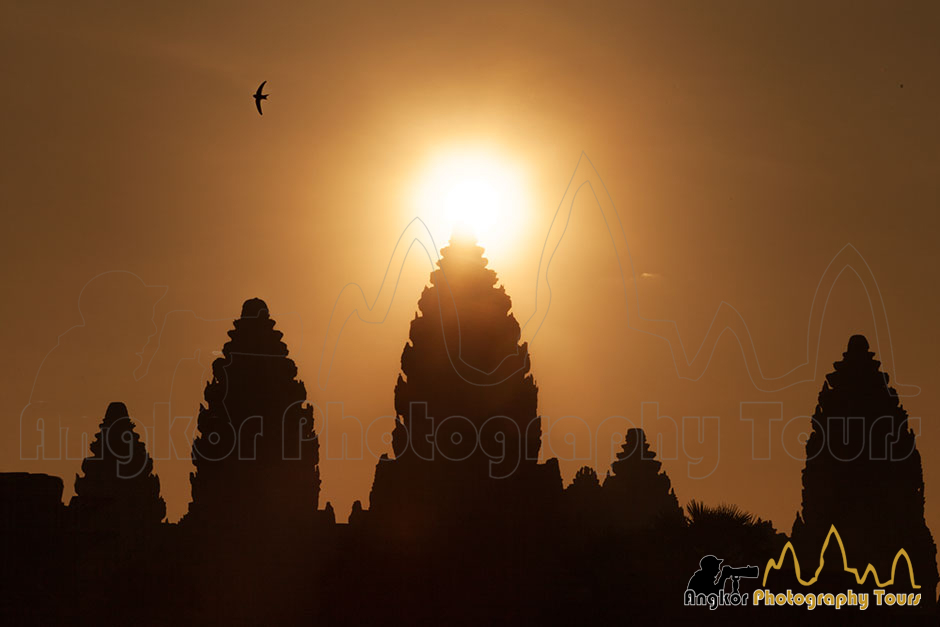
Angkor Wat spring equinox sunrise
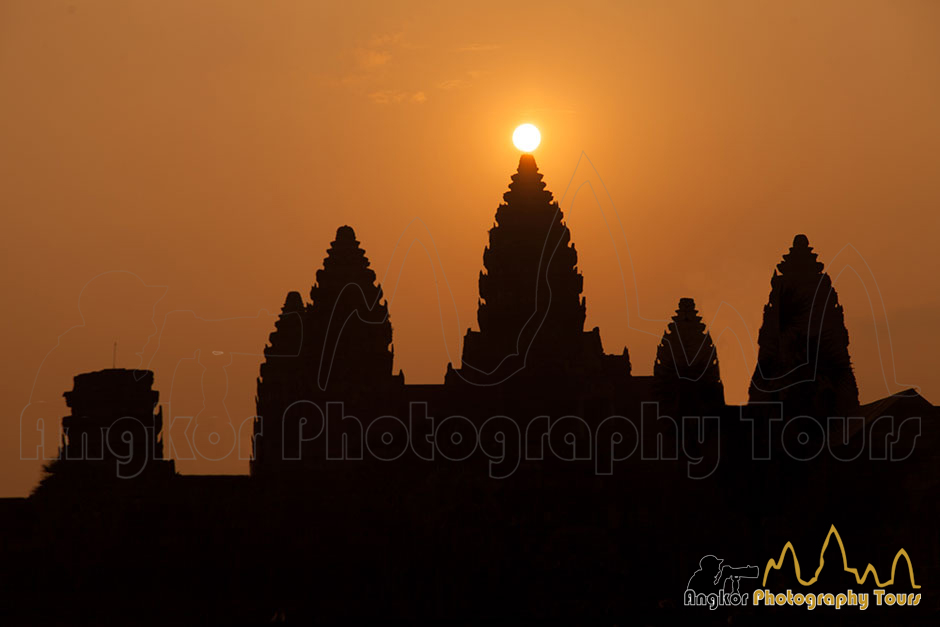
Angkor Wat sunrise during the equinox
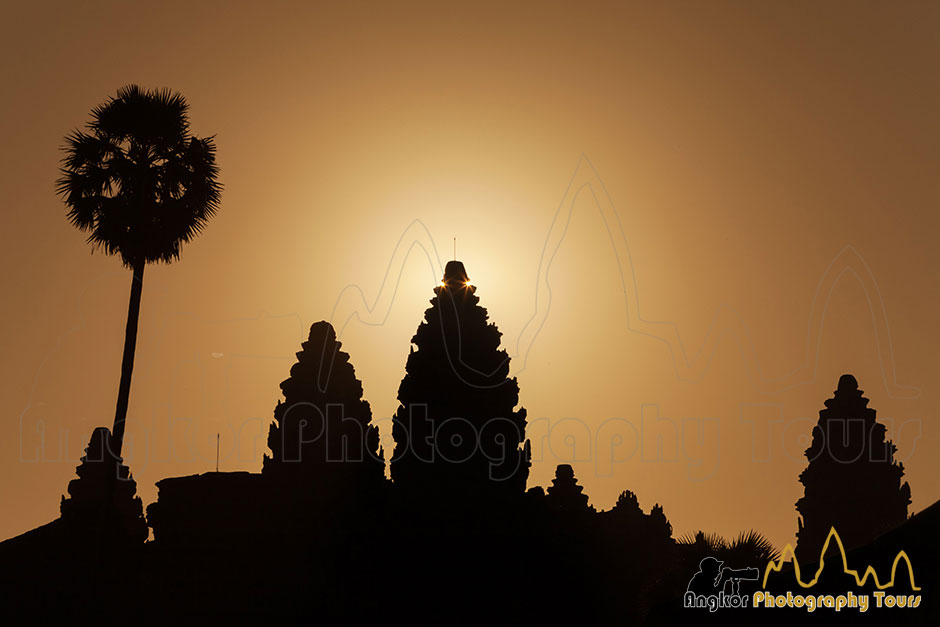
Sunlight behind the central tower of Angkor Wat temple
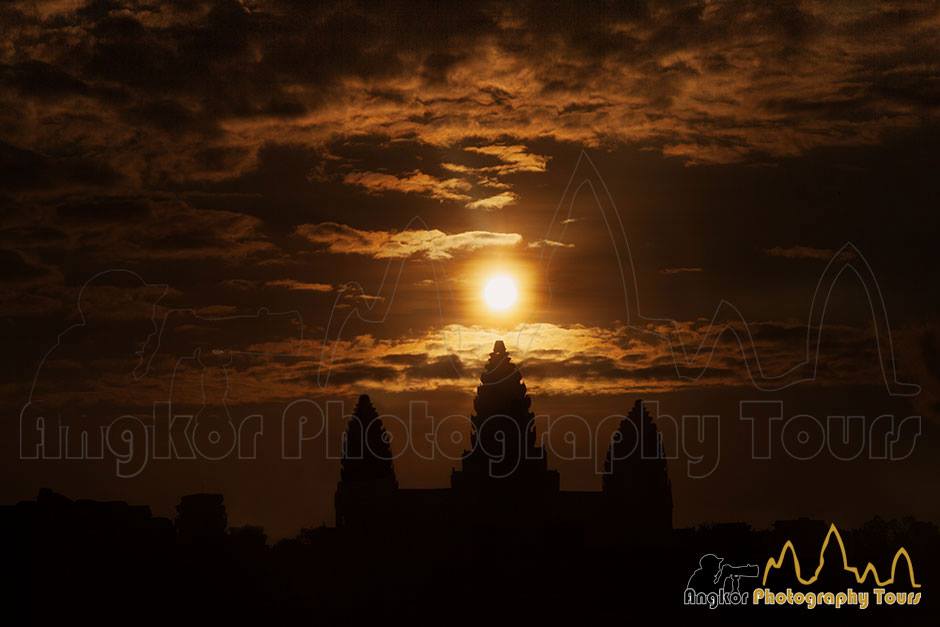
Sunrise over Angkor Wat temple during Equinox
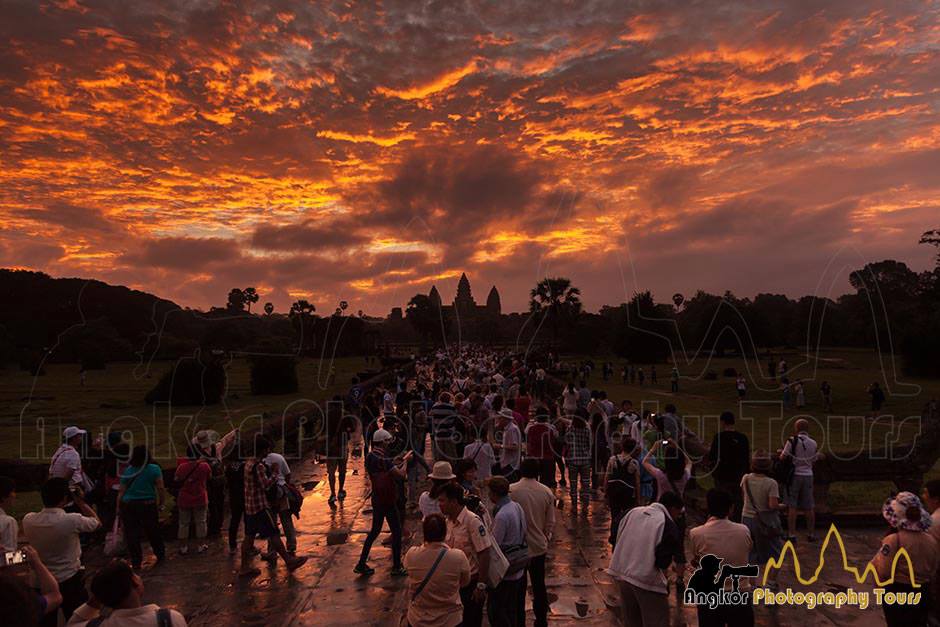
Crowd waiting for sunrise during the equinox at Angkor Wat temple